
(No Pectin, Small Batch)
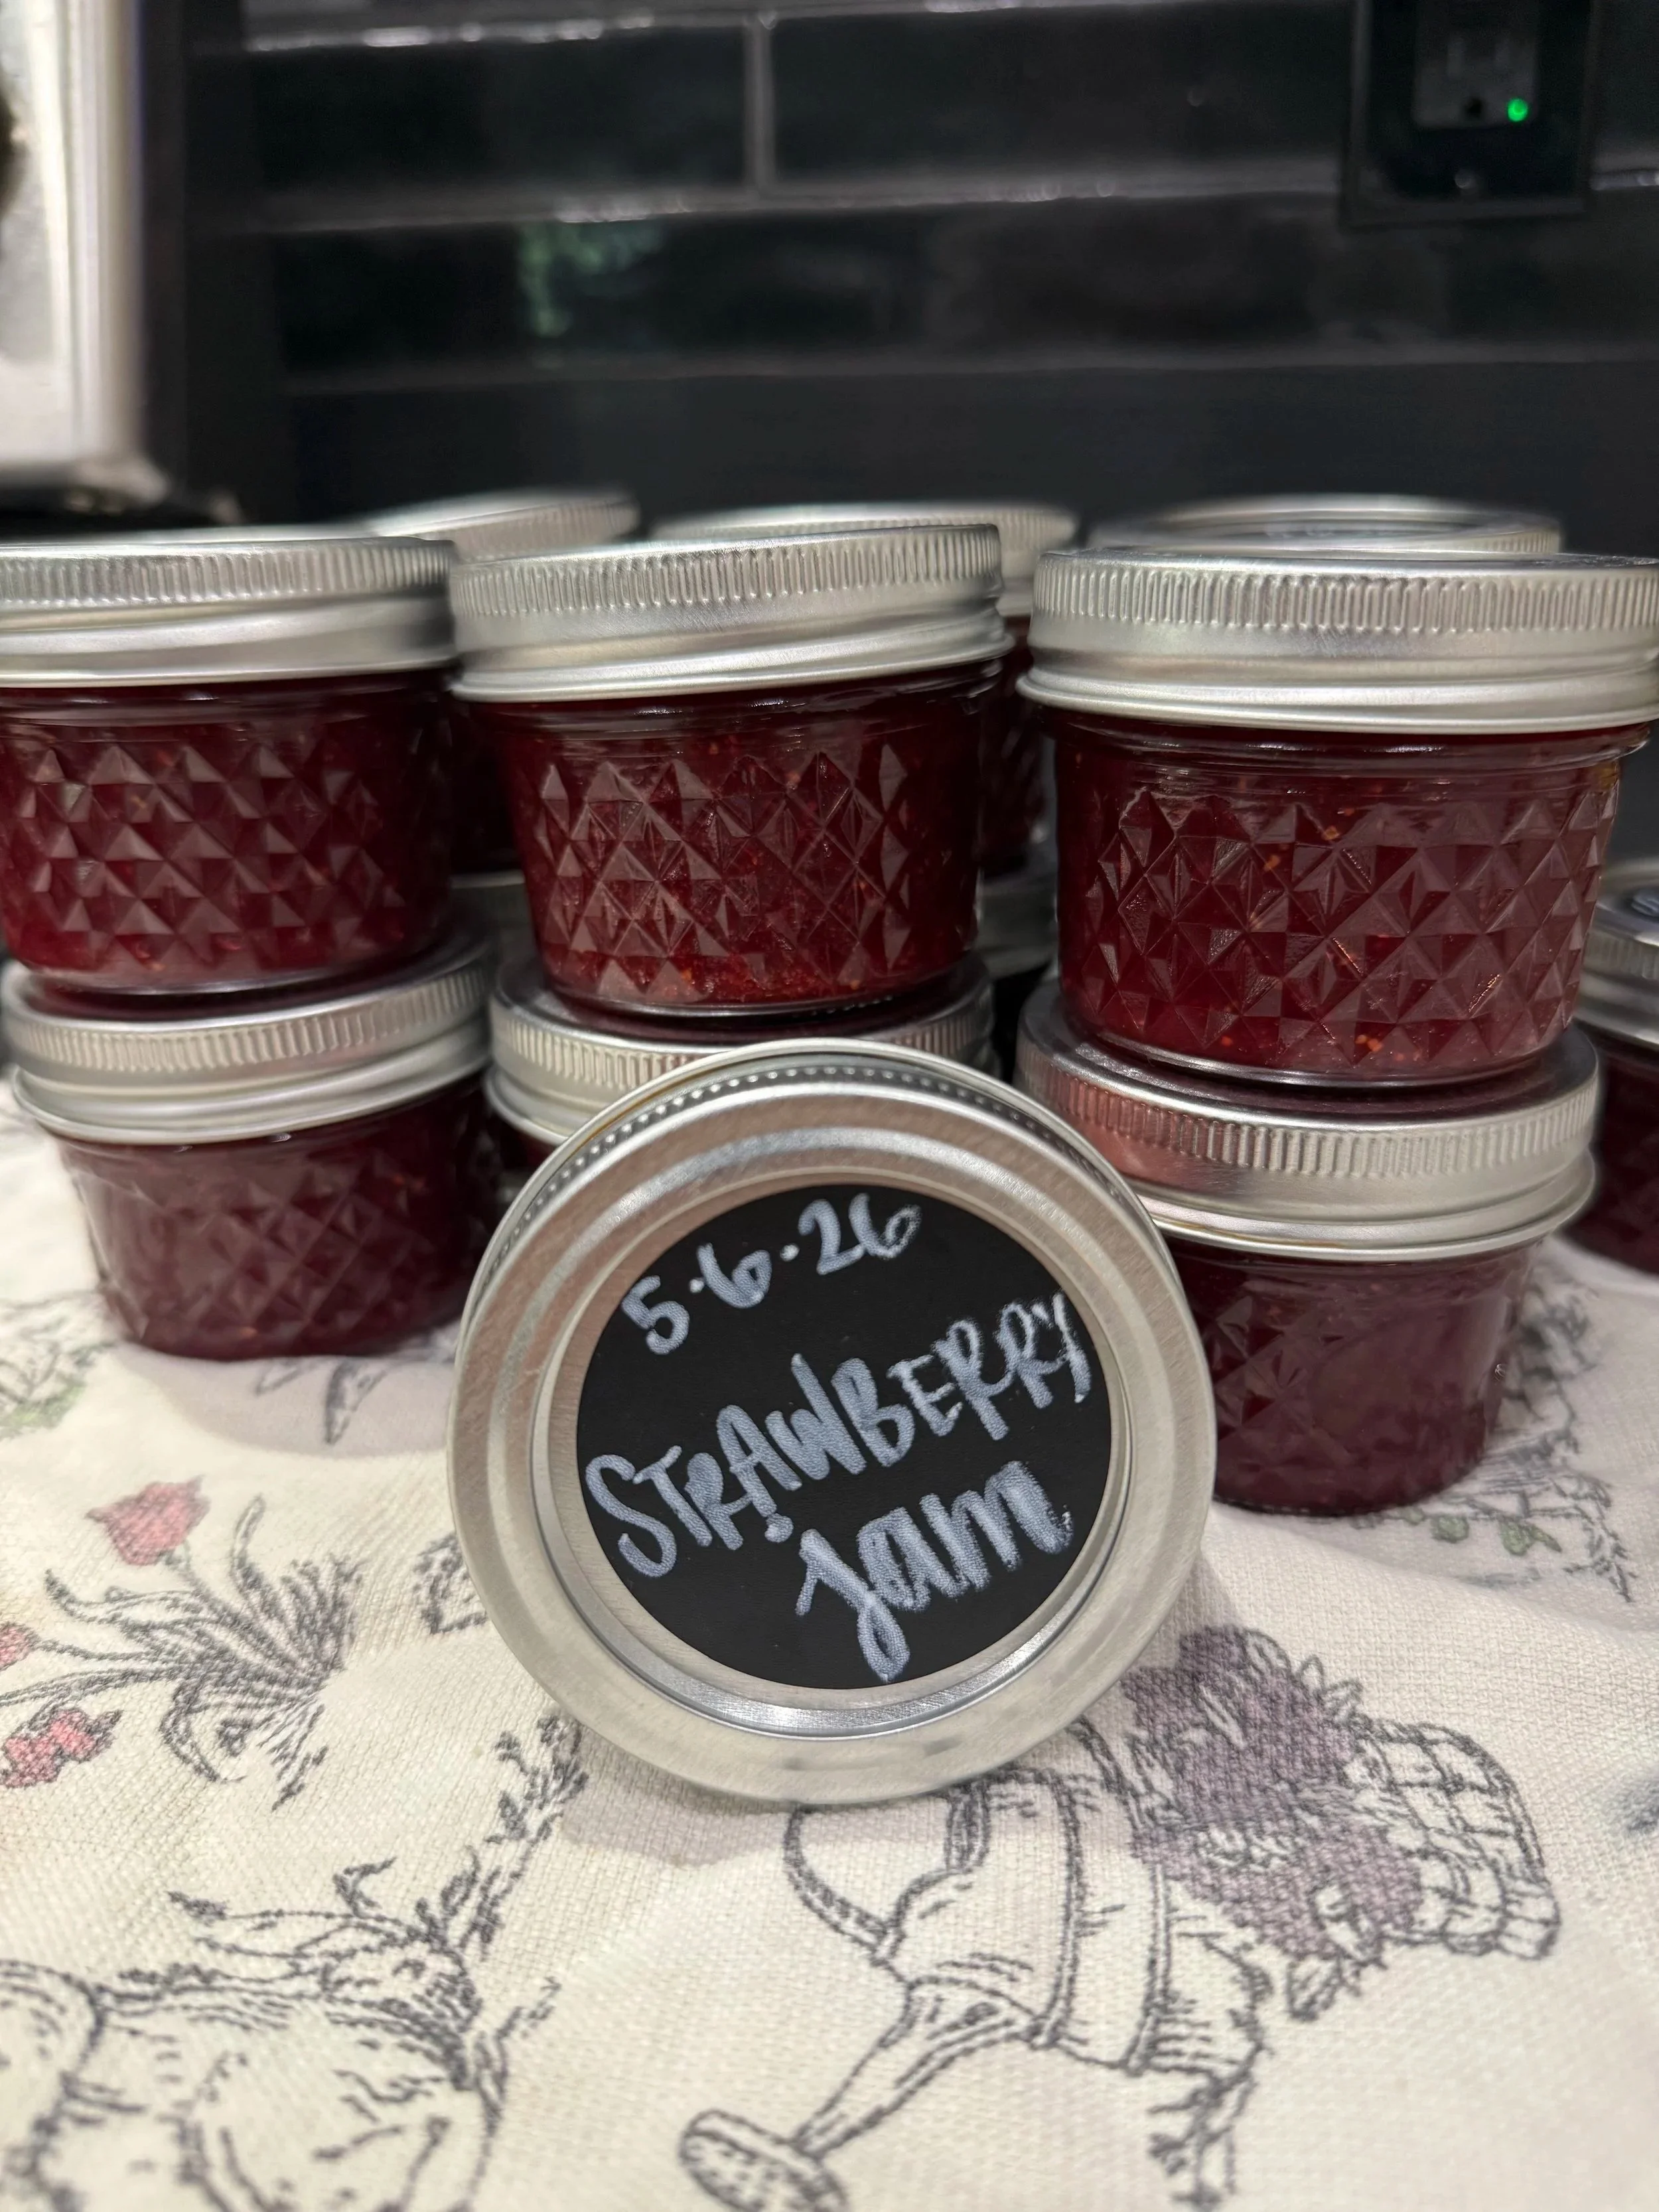
Fresh strawberries mean summer is just around the corner.
Every year, I look forward to the R&M Strawberry tent on Highway 66. Their strawberries are some of the best - juicy, sweet, and full of flavor.
We never make it home without sticky fingers and strawberry juice dripping down our faces…mine included.
I love supporting local farmers. I love that it’s a family business. But I hate how short strawberry season is.
It always feels like it’s over before I’ve had enough.
For years, the only way I knew how to preserve strawberries was to freeze them. It worked, but it never quite held onto that fresh, just-picked flavor.
This year, I decided I was finally going to figure out how to make strawberry jam.
It took a few tries, but I got it.
And now, knowing I’ve got jars tucked away that I can open in the middle of winter when I’m craving that fresh sweetness is so exciting.
My Go-To Strawberry Jam Method
I keep this recipe simple, but one small thing makes a big difference:
I use fresh lemon juice with sugar to balance the flavor and help the jam set naturally - no pectin needed. I’m not opposed to pectin. I’ve just never used it before and wasn’t loading up 4 kids for a grocery store run to grab it!
This recipe keeps the strawberries tasting like strawberries, not just sugar.
Strawberry Jam Recipe
Ingredients
2 lbs fresh strawberries (hulled)
2 cups granulated sugar
2 Tbsp fresh lemon juice
Instructions
1. Prepare the strawberries
Wash and hull the strawberries. Add them to a large pot and use an immersion blender to blend to your desired consistency. I like mine smooth, but you can leave a little texture if you prefer.
2. Start cooking
Turn the stove to medium-high heat. As the strawberries begin to warm, stir occasionally to keep them from sticking.
3. Add sugar and lemon juice
Stir in the sugar and fresh lemon juice. Continue stirring frequently to prevent sticking or burning.
Foam will form on top—that’s completely normal and will cook off as the jam continues to simmer.
4. Simmer and reduce
Let the jam simmer for 20–30 minutes, stirring occasionally, until it begins to thicken.
You’ll notice the bubbles change and the texture become thicker and glossy.
5. Check for doneness
Place a small spoonful on a plate and let it cool for a minute. If it thickens and holds its shape, it’s ready.
6. Prepare jars
While the jam cooks, sterilize your jars and lids by boiling them in water.
7. Fill and seal
Keep the jam hot while you’re canning. Carefully ladle the hot jam into jars, leaving a little space at the top. Wipe the rims clean, seal with lids, and process in a boiling water bath.
I used small jars and processed them for about 10 minutes. Make sure the jars are covered with at least 2 inches of water during the water bath.
8. Let cool
Allow jars to cool completely. You’ll hear the lids pop as they seal.
📌 Save This Recipe for Later
Want a printable version of this homemade strawberry jam recipe?
Download the beautifully designed recipe card below and save it for strawberry season.
A Few More Tips
Use small jars. If you’re like us, it can take a few weeks to go through a jar, and smaller jars help prevent it from going bad once opened.
Blend early for a smooth texture. Use an immersion blender before the mixture gets too hot to avoid splatter. My kids prefer it smooth.
Fresh lemon juice matters. It brightens the flavor and helps the jam set naturally.
Adjust the sugar if needed. If your strawberries are especially sweet, you can cut back slightly.
Keep the jam hot while canning. This helps ensure a proper seal.
My favorite way to enjoy this is spread over warm sourdough bagels with a little butter.
And when winter comes, opening a jar tastes a little like June all over again.
